Day 1 Walkthrough | Island Beekeeper Wiki
Step-by-step Island Beekeeper walkthrough for your first day — gather resources, craft tools, catch a queen, extract honey, and ship your first drone order. (Updated Jul 2026).
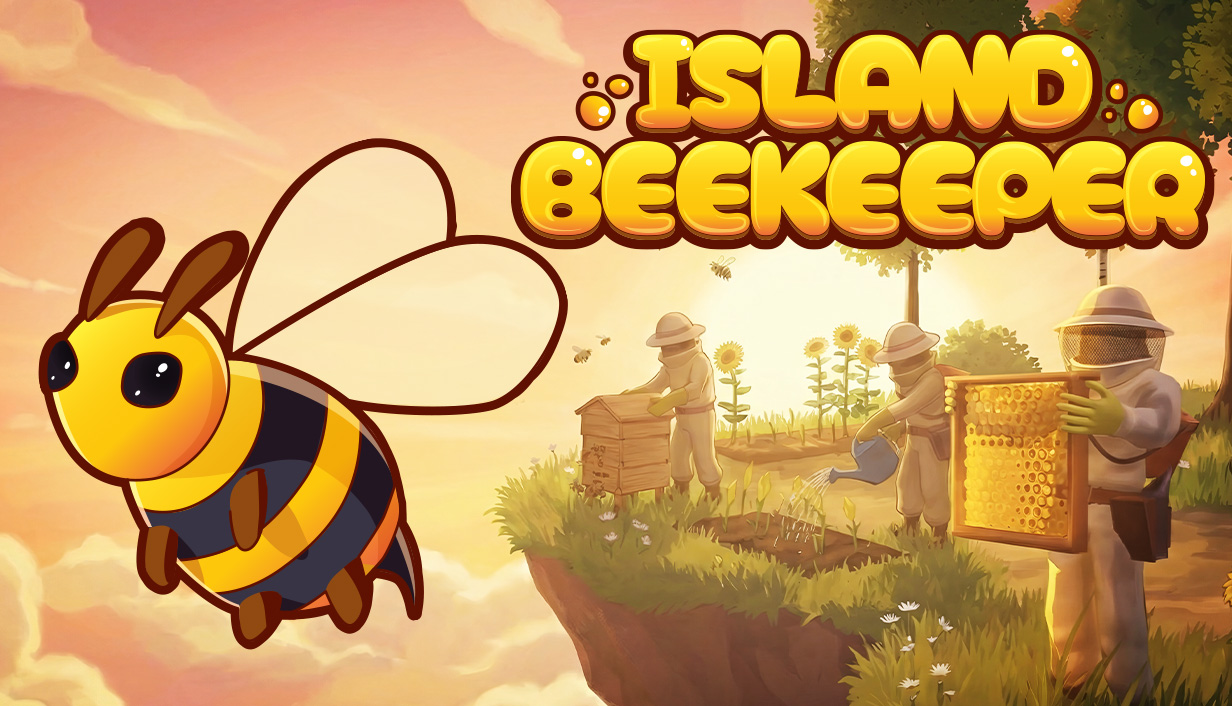
Day 1 Walkthrough
This walkthrough covers your first full day on the starter sky island — from landing to your first honey shipment. It follows the order most players search for after launch: survive, craft, catch bees, extract honey, and fulfill an Earth order. Pair it with the Beginner’s Guide for broader context and the Controls page when a specific keybind is unclear.
Press J anytime to open the journal. If you feel lost, check J before wandering — launch-week feedback showed that scattered island notes alone do not always explain the next objective.
Phase 1 — Survey and Gather (Minutes 0–15)
Your starter island holds everything needed for the first loop. Official gameplay material and demo footage confirm these surface resources:
| Resource | Where to find it | First-day use |
|---|---|---|
| Wood | Trees and fallen branches | Workbench, tools, hive frames |
| Stone | Surface rocks | Workbench, basic structures |
| Flax | Tall plants near meadows | Early crafting fiber |
| White flowers | Open grassy areas | Bee nectar, garden seeds |
| Strawberries | Berry patches | Food and cooking |
| Iron ore | Dark rocky outcrops | Mid-game tools (stockpile early) |
| Sand | Beaches and dry patches | Glass and jars later |
| Coal | Darker rock formations | Smoker fuel, boiler |
Collect wood and stone first until you can craft a workbench. Chop trees with bare hands, then craft an axe immediately — the starting island wood is finite and does not regrow, so do not clear every tree before you understand your build plan.
Pick up flax and white flowers as you pass them. Strawberries restore hunger during long crafting sessions. Mark iron ore locations on mental map — you will need them soon after day one.
Phase 2 — Workbench and Essential Tools (Minutes 15–25)
Place the workbench in a flat central spot near future hives and a water source. From the bench, craft in this order:
- Axe — faster wood gathering
- Pickaxe — stone, iron ore, sand, coal
- Hammer — building mode (H key)
- Hoe and watering can — first garden plots
- Bug net — required before touching wild hives
Do not break a wild hive until the bug net is in your hotbar. Queens escape if you open a hive without switching to the net in time — see Bees & Hybrids for the full catching sequence.
Phase 3 — First Hive and Queen (Minutes 25–40)
Locate a wild hive on the starter island — usually near flowers or cliff edges. The sequence is strict:
- Equip axe or hammer, break the wild hive open.
- Immediately switch to the bug net and catch the queen before she flies away.
- Craft empty frames at the workbench.
- Press H, place a hive near white flowers (within bee flight range).
- Open the hive inventory, insert frames, then place the queen inside.
Bees sting during hive breaks if your health is low. Eat strawberries and drink from fresh water before the run. Use a smoker once crafted — it calms bees during later frame pulls.
Wait for worker bees to visit nearby blooms. Full frames take real in-game time; tend your garden or expand storage while nectar converts to comb.
Phase 4 — Honey Extraction Pipeline (Minutes 40–55)
When frames show honey, the manual pipeline begins:
- Smoker — calm the hive before opening inventory.
- Remove full frames from the hive.
- Place frames in the honey extractor at your base.
- Hold an empty jar, interact with the extractor, and turn the crank (hold left-click).
Common launch-day confusion: fill jars from the extractor, not from buckets directly. Craft jars at the workbench or boiler once you have sand for glass. Full details live on Honey Production.
Store surplus honey in chests near the post station — you will load multiple jars for early orders.
Phase 5 — Post Station and First Shipment (Minutes 55–70)
The journal guides you to build a post station after your first jar. Use H to place it within walking distance of storage and the extractor.
- Open the post station inventory.
- Place required honey jars (and any other order items listed).
- Confirm the shipment — the drone delivers honey to Earth.
Completing orders raises reputation and unlocks recipes plus Meadow Cycle routes. Read Orders and Reputation before accepting multiple contracts — missed deadlines carry small penalties but add up if ignored.
Phase 6 — Shelter, Food, and Night (Minutes 70–90)
Before sleeping, secure basics:
- Bed — craft via hammer menu (H), sleep skips night and restores stamina.
- Garden — hoe a plot, plant white flowers and strawberries; bees and your hunger both benefit.
- Chest — store tools, jars, and ore so inventory stays clear for gathering trips.
- Save — pause menu manual save before risky hive experiments.
Eat cooked food when possible — Cooking & Food recipes stretch strawberry supplies. Hunger and thirst mechanics are covered in the Survival Guide.
What Comes After Day 1
Once the first shipment lands, your priorities shift:
| Goal | Guide to read next |
|---|---|
| Second hive and hybrid bees | Bee Breeding |
| Glass jars and boiler | Crafting & Building |
| Leave the starter island | Medocycle + Exploration |
| Optimize layout | Advanced Tips |
| Launch patches and hotfixes | Updates |
Akuseru Studio continues polishing building placement, co-op shared progression, and Medocycle weather reactions post-launch. Check the Updates page after each Steam news post.
Common First-Day Mistakes
- Breaking wild hives without a bug net — lose the queen, delay honey by hours.
- Confusing workbench crafting with H build mode — hives are placed with H, not the bench menu.
- Ignoring J (journal) — objectives update after orders and station builds.
- Chopping every tree — starter wood never returns; plan apiary footprint first.
- Skipping smoker — stings drain health during frame harvests.
If something still fails after following these steps, verify game files through Steam and compare your build to the FAQ troubleshooting section.
Frequently Asked Questions
Quick answers to the most common questions.
How long does the first day take in Island Beekeeper?
Most players finish the core first-day loop — workbench, first hive, one jar of honey, and a post-station shipment — in 45 to 90 minutes depending on exploration pace and tutorial reading.
What resources should I gather first on the starter island?
Prioritize wood and stone for the workbench, then flax for early recipes. White flowers and strawberries support bees and cooking; iron ore, sand, and coal unlock mid-game stations.
Can I skip catching a wild queen on day one?
No. You need a queen in a crafted hive with frames before honey production begins. Craft a bug net at the workbench before breaking any wild hive.
When should I build the post station?
Build it as soon as the journal prompts you after your first successful honey extraction. Shipping honey to Earth drives reputation and unlocks Meadow Cycle travel routes.
Does wood regrow on the starting island?
Trees on the starter island do not regrow. Spend wood carefully and plan trips to forest islands once the Medocycle and reputation ranks allow travel.